A field user may open an existing incident and add a hazard to it. Hazards may be added to incidents regardless of confirmed status. Follow the steps below:
- On the Home pane, select an incident and click Open to view it on the Current Task pane.
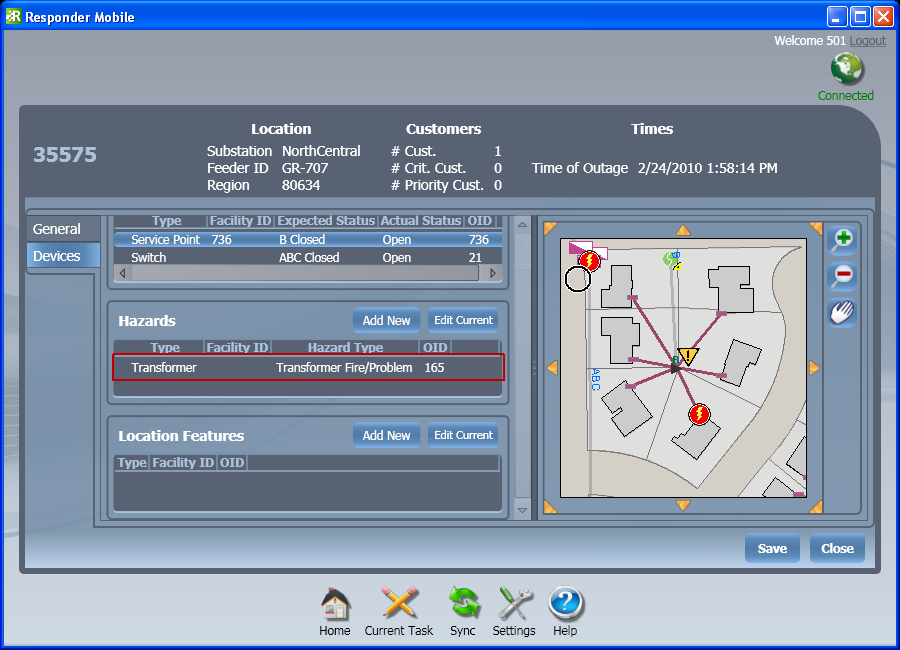
- On the Current Task pane, select the Devices tab to view the devices, hazards, and features associated with that incident.
- You may need to zoom the map until the device to be added is visible.
- Click Add New above the list of Hazards.
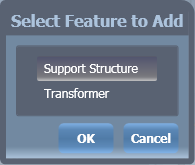
- Clicking an Add New button changes the cursor to a circle when it is hovered over the map. Click a device on the map to create a hazard. If you click an area with multiple devices nearby, you will be prompted to select one. Select the device and click OK.
- Enter the hazard data.
- Hazard Type: Indicate the hazard (e.g., broken pole, wires down).
- Status: Indicate whether the hazard has been secured.
- Wire Owner: Select an owner of the wire.
- Remarks: Enter any relevant remarks.
- Time Created: Time the hazard was created.
- Time Secured: Time the hazard was secured.
- Time Completed: Time the hazard was eliminated.
- Time Public Safety Arr.: Time public safety arrived.
- Time Public Safety Rel.: Time public safety was released.
- Region: This field displays the region in which the hazard resides. This value cannot be edited in the field.
- SubID: This field displays the segment ID for a complex edge. It is populated only for cuts. This value cannot be edited in the field.
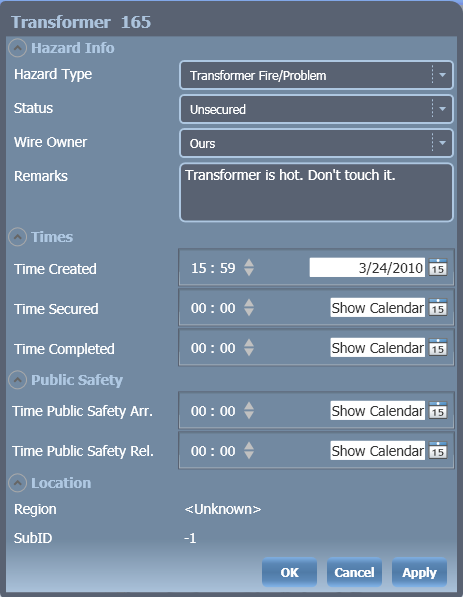
- Click OK or Apply. The new hazard will appear in the Hazards table on the Devices tab. It will also be symbolized on the map with an orange triangle.