ArcFM Desktop Configuration Guide
Configure Application Pool Using IIS7

Resource Center Home

In this step, you will set an Application Pool ID.
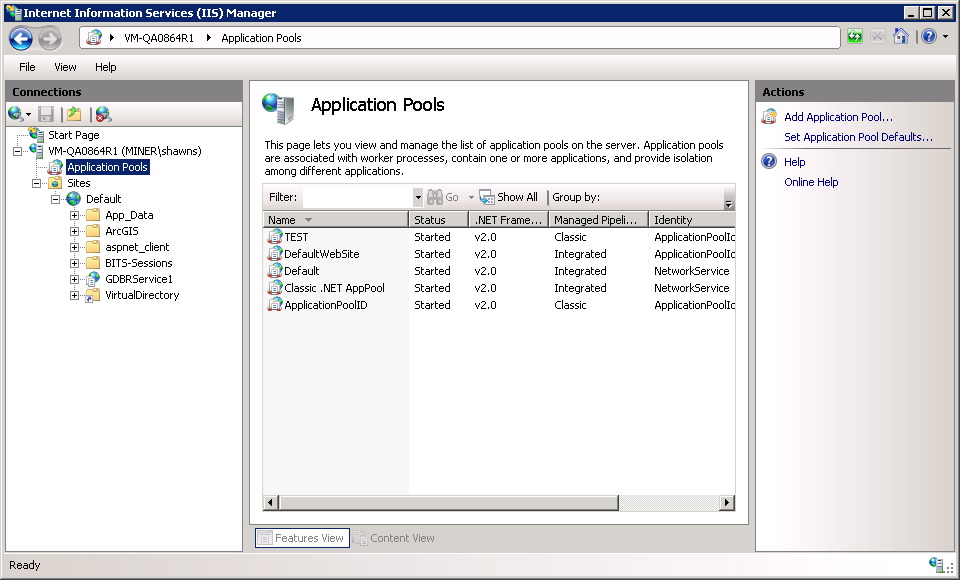
  1. Open the Internet Information Services (IIS) Manager.
  2. Expand your computer's drop-down list and select Application Pools.
  3. Right click Application Pools and select Add Application Pool. For more information about adding application pools, please refer to Microsoft's documentation.


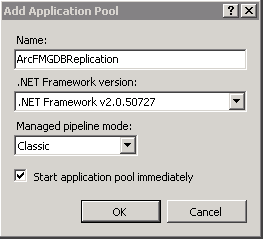
  4. Enter an Application Pool ID. You can enter any value you’d like. The example uses ArcFMGDBReplication. Select the appropriate .NET Framework version and select the Classic Managed pipeline mode. Click OK to finish. If you are using 32-bit applications, select the application you just added, select Advanced Settings, and then select True in the Enable 32-Bit Application field. 

       
  5. Next, expand Web Sites (or Sites) > Default Web Site.
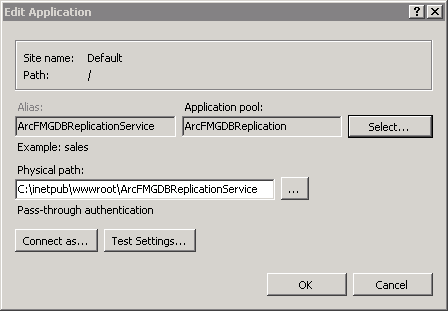
  6. Select ArcFMGDBReplicationService and click Basic Settings in the far-right column.


  7. Select the application pool you created (ArcFMGDBReplication in this example).
  8. If your web service resides separately from the replication server (distributed implementation), click Connect As in the Edit Application window.
  9. In the Connect As window, select the Specific user radio button and then click Set. In the Set Credentials window, enter the user name and password of the domain user created by your DBA (see Before You Begin).
  10. Click OK.


Send Comment to ArcFMdocumentation@schneider-electric.com