To create a new assembly:
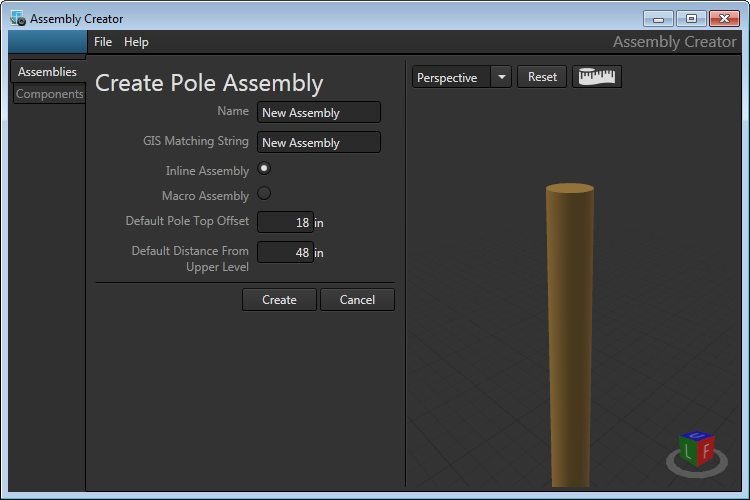
- Click the Create New button. This will open the Create Pole Assembly form.
- Enter a unique name for your new assembly.
- Enter the GIS Matching String for the assembly. This value is used to match assemblies that are imported from ArcMap.
- Select either Inline Assembly or Macro Assembly. Macro Assemblies have two levels of cross arms (i.e., line and buck).
- Set the Default Pole Top Offset and Default Next Level offsets. The Default Pole Top Offset value determines how far the cross arm will be from the top of the pole. The Default Next Level Offset will control the distance any cross arm or bracket placed below the current cross arm will be set. This distance is measured from the center of where the attachment hardware intersects the cross arm.
- Click Create. A popup window will alert you if the name already exists. The name must be unique before you can save the design.
- A new, bare assembly is added to the list on the Assemblies tab. You must double-click the assembly in the list to add or delete components from the Assembly Information form.
 |
When more than one set of cables dead-end on a single pole, you should create separate assemblies for each dead-end cable run. |