Access the Assemblies tab to view, create, and edit assemblies. The assemblies you create here will be available in Overhead Design Analysis (OHDA).
The screen on the Assemblies tab has a left column with a list of created assemblies at the top. Details for the currently selected assembly are below this list. On the right side of the Assemblies screen, Assembly Creator displays a 3D representation of the currently selected assembly.
 |
The workflow for creating new assemblies is a two-part process:
|
Select Assembly
Double-click an assembly (either in the assembly list or its thumbnail in catalog view) to open the Assembly Information form where you can edit its components. If the assembly list is large, you can filter the results in the assembly list by typing one or more characters in the filter text box. To remove a filter on the list, click the X to the right of the filter text box.
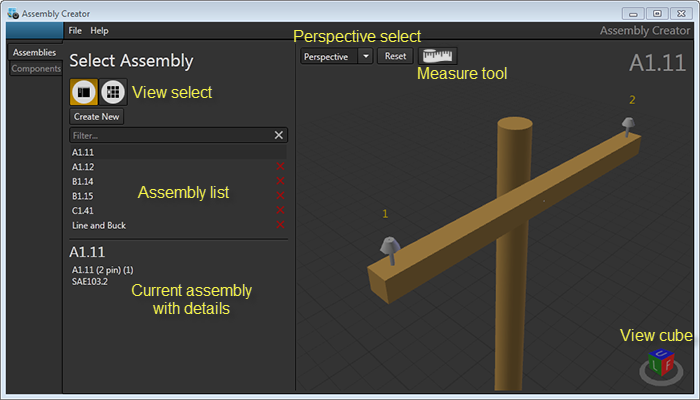
Navigating the Canvas in 3D View
| Pan: | While holding the Shift key, click and drag with the right mouse button to pan. |
| Rotate: | Click and drag with the right mouse button to rotate the view on the canvas. If you right-click on a point on a pole, the rotation will center around that point. Otherwise, rotation will be centered around the midpoint of the canvas. |
| Zoom: | Scroll the mouse wheel to zoom in and out on the canvas. |
| Zoom rectangle: | Hold Ctrl, Shift, and the right mouse button and drag the mouse to create a zoom rectangle. Release to zoom. |
| Jump to view: | Click on a visible side of the view cube to jump to that perspective. Alternatively, select a perspective from the drop-down in the upper-left portion of the canvas. |
|
You can navigate each thumbnail in catalog view independent of other assembly thumbnails. |
