
Version: 10.2.1c and 10.2.1c SP3 |
| Responder Web Browser > Switch Order Requests |
Available in Responder Web Browser.
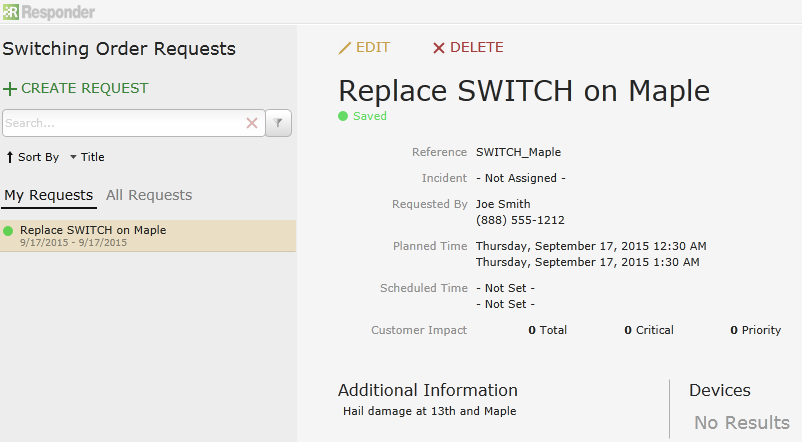
Select Switch Order to view current requests. The Responder Switch Order Requests window opens.

Select either My Requests to view all the requests you created, or select All Requests to view any Switch Order Requests created by any user.
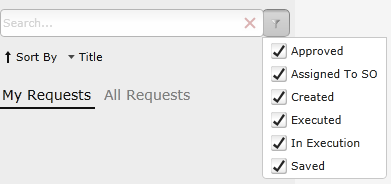
Using the field on the left side of the page, filter the lists of Switch Order Requests (both My Requests and All Requests are filtered by this field) by entering SOR Title infomation. The lists of requests automatically filter to display only requests that fit the entered text. Click the filter button next to the field to select which requests appear by selected status.
 |
The colored circles that appear next to the requests indicate the Switch Order status. The status appears as a tooltip when hovering the cursor over the circle. |

 |
If you save a request but are unable to view it, the Saved filter needs to be applied. See the Customize Switch Orders section in Configuring Responder for more information about this customization. |
You may sort the data using the Sort By option. Select the method by which you want to sort. The arrow next to the label indicates whether it's sorted ascending or descending. In the example below, the data will be sorted by Title in descending order.

With the appropriate roles and permissions, you can click Delete after selecting a request to remove it from the list. A deleted request cannot be retrieved. It must be recreated. A request cannot be deleted after it's been assigned to a Switch Order.
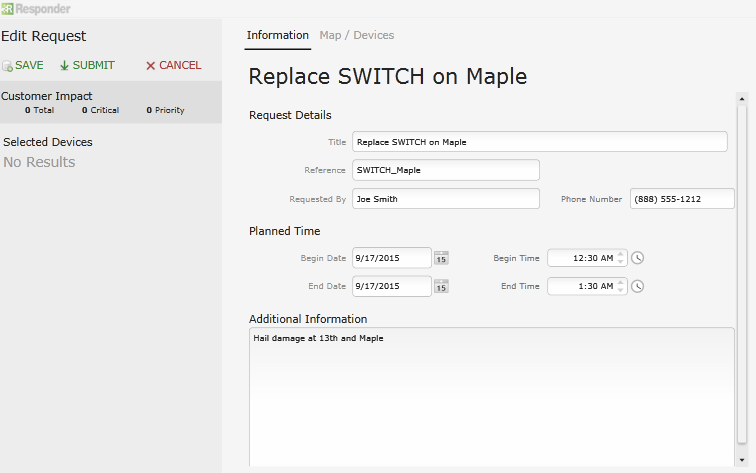
Click Edit after selecting a SOR to modify any information about the request. You can then edit the fields on the Edit Requests page, and add Comments about the edit. However, you can not add or remove the devices assigned to a request once it has been created. A request that has been assigned to an incident can not be edited. Click Save after editing.

Click Create Request to add a new request to the list.