
Version: 10.2.1c and 10.2.1c SP3 |
| ArcFM Desktop Overview > Conduit Manager > Conduit System > Configure Conduit System |
Information about ducts, size, position, and contents is stored in the Configuration field of the Conduit System feature. You may configure a conduit before or after it is placed on the map. This information is necessary if you want to associate conductors with specific ducts.

Figure 1, Sketch button in the Configuration field

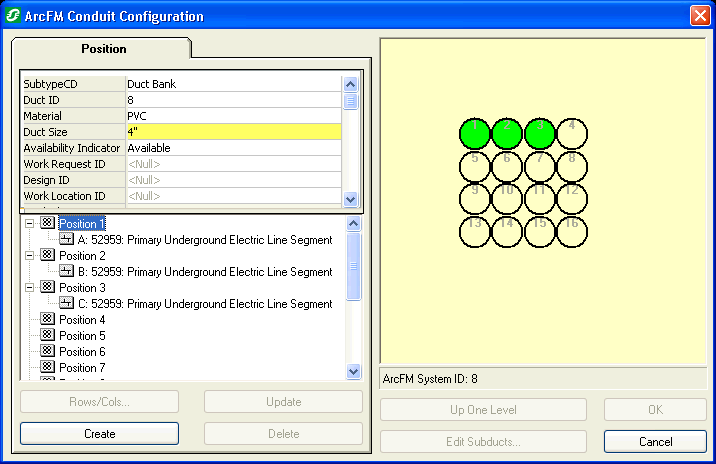
Figure 2, ArcFM Conduit Configuration

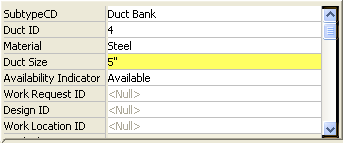
Figure 3, Duct attributes

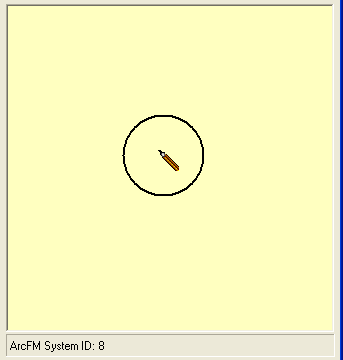
Figure 4, Create a single duct

Figure 5, ArcFM Rows/Cols dialog
Note: The Drawing Option is always set to the last configuration selected. If you open a conduit that has already been configured, the Drawing Option may not match its configuration. It will reflect the last configuration selected, not the current configuration of the selected conduit. To reconfigure an existing configuration, click OK on the ArcFM Rows/Columns dialog. You will be prompted to validate that you want to reset the configuration. Click Yes to reconfigure or No to retain the existing configuration.
Once placed, you may select a duct either in the tree or in the graphic representation on the right. Use the grid to edit the attributes of the selected duct. Click Update to save those changes. The image will change to reflect the modification of the size and availability attributes. If you want to delete an existing duct, select it and click the Delete button.
 |
You may designate a duct position as "Unavailable". Select Unavailable in the Availability Indicator field for that duct position. This attribute value will not prevent users from associating conductor features with that duct position. However, when conductor is placed in an Unavailable duct position, the duct is shaded in red in the yellow window at the right. Duct symbology is described on the Associate Underground Conductor page. This section also discusses how to place subducts. |
Click OK on the ArcFM Conduit Configuration window to save the configuration.