Responder Developer Guide
Button Command Code Sample
| Responder Overview > Application Framework - Responder > Commands in Responder > Button Command Code Sample |
Product Availability: Responder
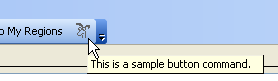
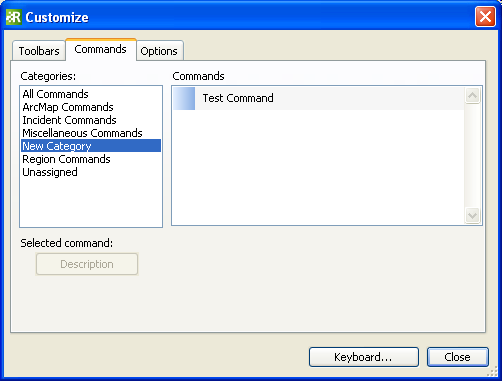
This section discusses how to create a button command in Responder Explorer or Archive Explorer and display that command in a particular category on the Customize menu. The code sample below demonstrates how you may create a button command. The Add Responder Command to the User Interface page discusses how to include this command on a toolbar in your Responder Explorer or Archive Explorer user interface.
The sample on this page adds the above command
 |
The default transparent color for bitmap icons is teal (RGB - 0, 128, 128). |
Create the Command
| Button Command |
Copy Code
|
|---|---|
using System; using System.Windows.Forms; using Miner.Data.Decoration; using Miner.Responder.Shared; using Miner.Windows.Commands; using Miner.Resource; using System.Reflection; namespace CommandTest { //1 public class CommandButtonTest : ButtonCommand { //2 public const string _Cmdkey = "TestCmd"; //3 public CommandButtonTest() : base(_Cmdkey, "Test Command", "This is a sample button command.", Imaging.LoadBitmap(Assembly.GetAssembly(typeof(CommandButtonTest)),"testcmd")) { //4 Category = "New Category"; DataSelectionMonitor.DataSelectionChanged += DataSelectionMonitor_DataSelectionChanged; ShowInCustomizer = true; Description = "I am just testing how to add a new command button for a context menu."; } //5 protected override void OnClick(EventArgs args) { // The action performed when the command is actived. MessageBox.Show(null, "Test command was activated.", "Information", MessageBoxButtons.OK, MessageBoxIcon.Exclamation); } /// <summary> /// Handles the DataSelectionChanged event of the DataSelectionMonitor control. /// </summary> //6 private void DataSelectionMonitor_DataSelectionChanged(object sender, DataSelectionEventArgs e) { // Make this command enabled when the data is associated with the incidents table. Enabled = e.TableName.Equals(RxDb.TableRepresents.Incidents.TableName, StringComparison.InvariantCultureIgnoreCase); } } } |
|