
| Fiber Manager > Configure Flexible Fiber Features > How Create a Flexible Feature > Assign Model Names and Autoupdaters |
To assign model names and autoupdaters, right click the new feature or object, then select ArcFM Properties Manager. After you've finished assigning settings on a tab, click the Apply button. Some autoupdaters are available only if the proper model names are assigned. You may need to restart the ArcFM Properties Manager after assigning model names to see all available autoupdaters.
The instructions in this topic and other topics in the How to Create a Flexible Feature section include an example. The example involves adding an air blown fiber feature to a fiber dataset that already has a geometric network.
A. Assign Class Model Names
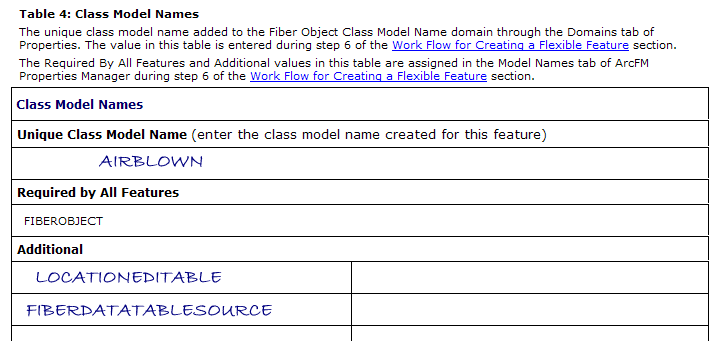
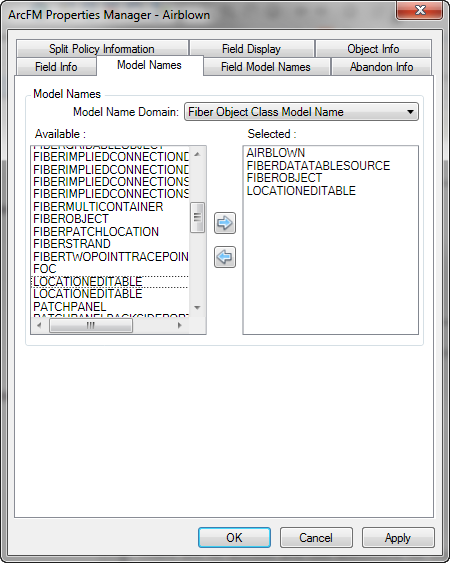
On the Model Names tab in the ArcFM Properties Manager, assign the class model names from Table 4 of the worksheet. Below is a sample worksheet for class model names.
B. Assign Field Model Names and Autoupdaters
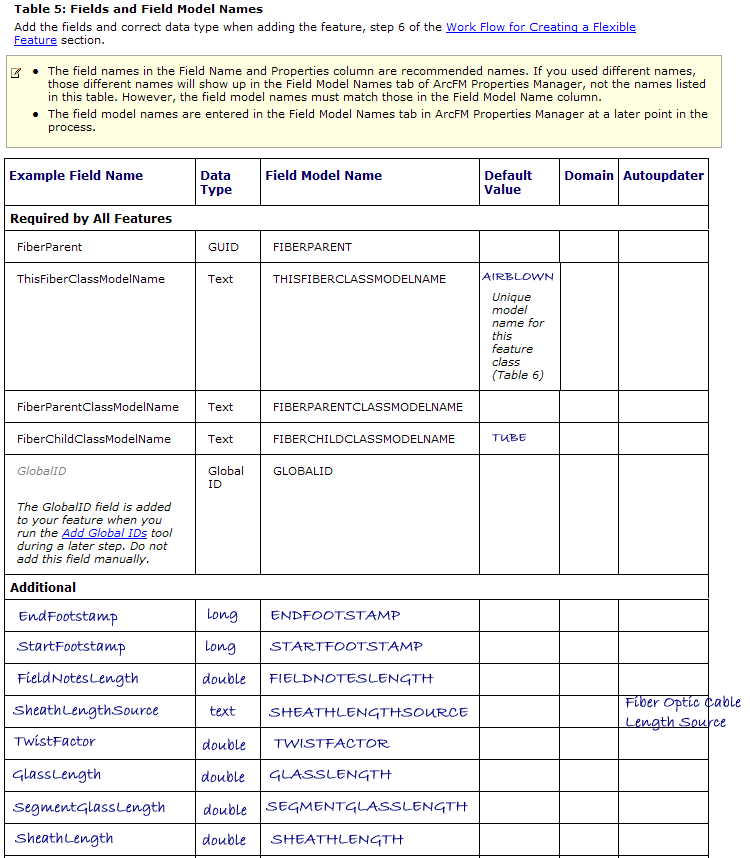
On the Field Model Names tab in the ArcFM Properties Manager, assign the field model names from Table 5 of the worksheet. Use the Field Info tab to assign any field autoupdaters. Below is a sample worksheet for field model names. The sample worksheet below does not contain ALL field model names. This is just a sample.
C. Assign Object Autoupdaters
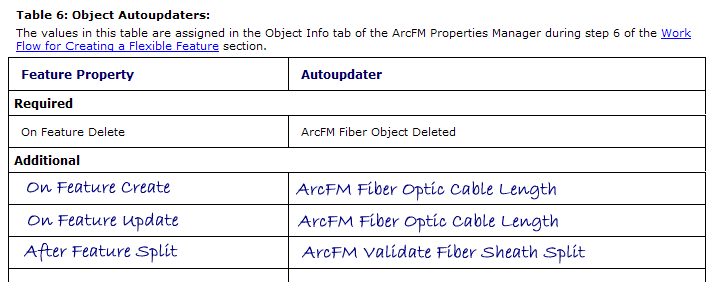
On the Object Info tab in the ArcFM Properties Manager, assign the autoupdaters from Table 6 of the worksheet. Below is a sample worksheet for class autoupdaters.

D. Set Display Field
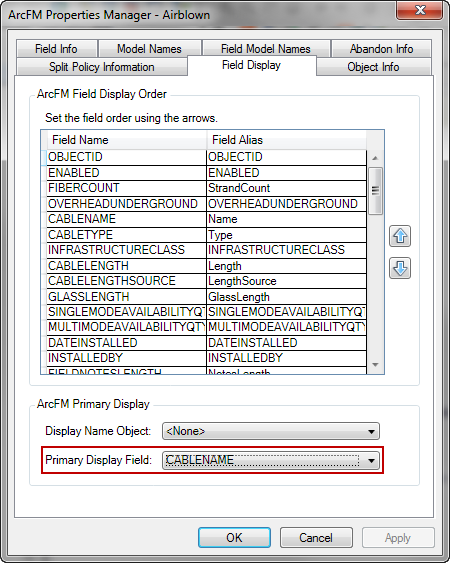
On the Field Display tab of the ArcFM Properties Manager, set the display field for the feature. This is the data displayed when a feature of this type is displayed in the Attribute Editor.
E. Assign Relationship Autoupdaters
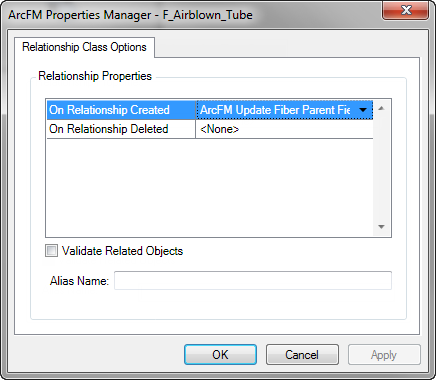
Select the relationship class and open the ArcFM Properties Manager to assign autoupdaters. Below is a sample worksheet for relationships and their autoupdaters.

