
| Responder Overview > Dispatcher Tasks and Tools > Auto Change |
Version: 10.1 |
Available in Responder Web Browser.
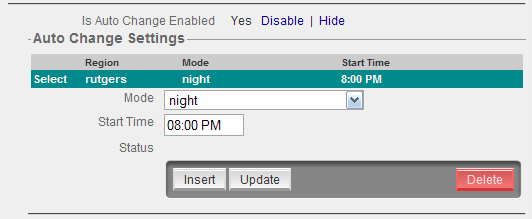
Auto Change allows you to automatically set modes at specific times, kind of like setting an alarm clock. First you set a time for a particular mode to become enabled. Then you set Auto Change to Enabled. If Auto Change is disabled, the modes will not automatically change, even if they're set. Click List to view and edit existing mode changes or create new ones.
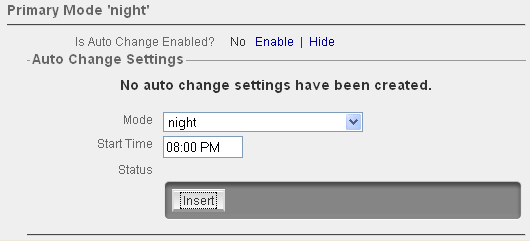
Primary Mode: The value displayed in the Mode field is the Primary Mode. This is the mode used if Auto Change is disabled. Below, the primary mode is "night" and Auto Change is disabled. Therefore, "night" is the mode currently in use.


If you have a parent node selected, you can modify the Auto Change setting as well as the Primary mode. These changes affect the child regions within the parent region.

Auto Change: A value of Mixed in the Is Auto Change Enabled field on a parent region indicates that some child regions have Auto Change enabled and some do not. When the value is Mixed, you can only disable Auto Change for the parent region and all of its child regions. If all are disabled, then you may enable Auto Change on all of them.
Primary Mode: A value of Mixed Mode in the Mode field indicates that the child regions have different Primary Mode values. If you change the Mode field from Mixed Mode to another mode (e.g., Night), then the Primary Mode for all child regions are changed as well. If one or more child regions have Auto Change enabled (i.e., the Primary Mode isn't in effect), the user is warned that some child regions are using Auto Change. The user can then choose to disable Auto Change on the child regions or not.