ArcFM Engine Configuration Guide
Manage Assemblies
| ArcFM Engine > Configure Mobile - Engine > Designer Staker > STEP 2: Add Staker Tables and Assemblies > Manage Assemblies |
Version: 10.1 |
The Designer Staker Configuration tool allows you to create or edit assemblies and organize them into categories. The top of the Designer Staker Configuration tool provides navigation and allows you to see where you are in the tool.
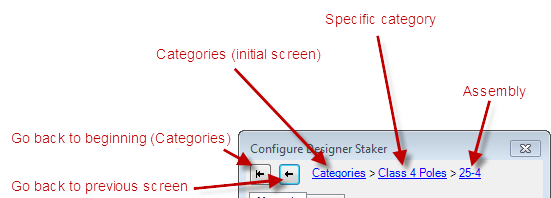
The two buttons allow you to navigate to the very beginning (Categories) or to the previous screen. The links also allow you to navigate to a specific screen in the tool. In the example above, the user started at the Categories screen where he choose a category to edit (Class 4 Poles), then he selected a specific assembly within that category to edit (25-4). You can click any of the links (Categories, Class 4 Poles, 25-4) to return to that screen.
This page outlines the various functionality provided by the Designer Staker Configuration tool.
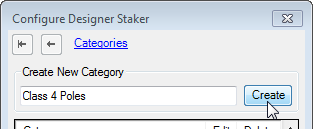
When you open the Configure Designer Staker tool, the first screen displays the existing categories and allows you to create new categories.
Create: To create a new category, enter its name in the Create New Category field and click Create. The category with the provided name is added to the list.
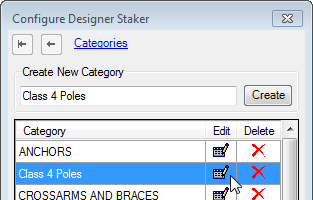
Edit: To edit an existing category, select it in the list and click the Edit button. This displays the assemblies currently in the category. Here you can create, edit or delete assemblies.
Delete: To delete a category, select it in the list and click the Delete button.
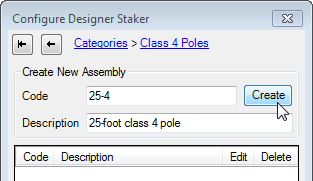
Once you've selected a category to edit (e.g., Class 4 Poles in the example on this page), you can create assemblies within it.
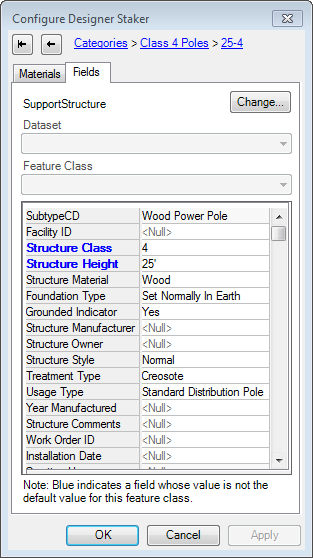
Use the Edit Assemblies screen to associate features to the assembly.
To delete an assembly, select it in the list and click the Delete button.