
Version: 10.2.1c and 10.2.1c SP3 |
| Responder Overview > Implement Responder > Data Preparation > Jumpers Display |
Responder allows you to temporarily connect two electrical line features via a Jumper. This functionality is not required, but to use it you will need to create the feature class, which is used to display these lines. Use the instructions below to create this feature class and assign the appropriate model names.
 |
In addition, Responder Line Display must be configured for Jumper use. |
The Rx_Jumpers_Display class must have permissions that allow users to write data to it.
 |
When creating the new feature class it must have the same coordinate system as the Electric dataset. You may want to look up this coordinate system before starting to create the feature class. You can right-click the data set and select Properties, then click the XY Coordinate System tab to retrieve this information. You can also import the projection from the electric dataset. |
 |
The Rx_Jumpers_Display feature class must use the same coordinates system as the Electric dataset. If it does not, you will experience errors. The error may look something like this one: System.Runtime.InteropServices.COMException (0x80040215): Exception from HRESULT: 0x80040215 at Esri.ArcGIS.Geometry.PolylineClass.Union(IGeometry other) |
 |
If you are upgrading Responder, you will need to add the RXJUMPERS model name to the Responder Object Class Model Names domain. If you are implementing Responder for the first time, these model names were added previously. |
Symbology
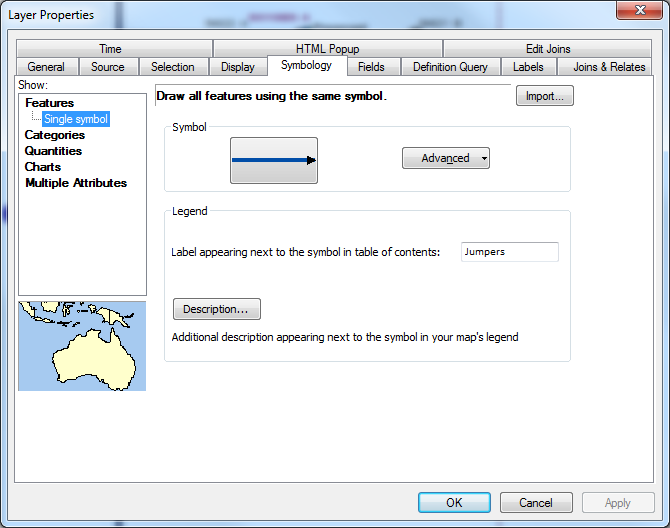
You can determine how Jumpers appear on the map. This section discusses an example of how you might set up this symbology.
