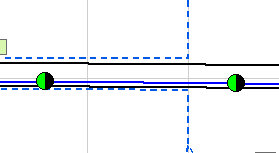
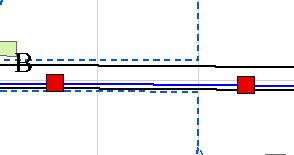
First perform the steps shown on the Work Function Tool Overview page. For this example, we'll replace two wood poles (shown below).
-
- In the Feature(s) window, highlight the CU(s) you want to modify first. You may select multiple CUs within the same feature class and assign the same Remove and Install CUs.
- Select a Remove CU or Favorite and press the Enter key. There are three buttons to help you easily find the appropriate CU: Find Next, Delete, and Browse.
 The Find Next button performs a search. Type the first few letters of the CU in the field. Click this button to search for matching CUs. Hit the Enter key to select the found CU and add it to the window at the left.
 The Delete button clears the contents of the field.
 Like Find Next, the Browse button performs a search. Click this button for a window to search for a CU. This screen also allows you to choose a different work function if another is available.
 The Change Work Function button allows you to assign a specific remove work function (such as Abandon or Retire) to the Compatible Unit. This does not modify the work function of any existing non-GIS CUs.
- Select an Install CU or Favorite and press the Enter key.
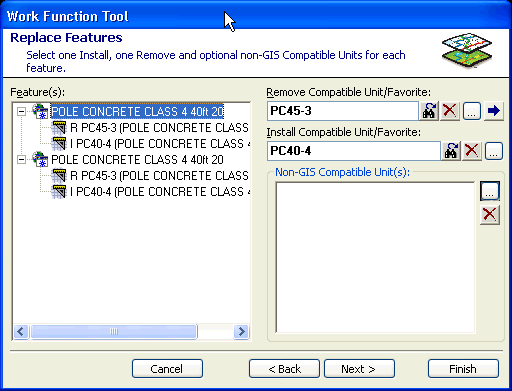
- You may add non-GIS CUs to the CU(s). Use the Browse button to search for non-GIS CUs. You may assign a work function in the Select Non-GIS CUs dialog. Use the Delete button to remove them. In the Features window, select multiple CUs of the same feature class to add a non-GIS CU to each one.
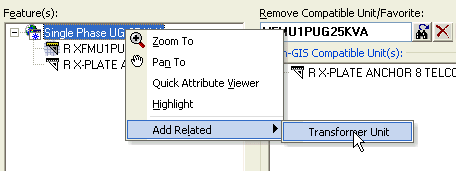
- You may also add Related Objects to the CUs. Right-click a CU (or multiple CUs in the same feature class) and select Add Related. The available objects for that CU are shown in the menu.
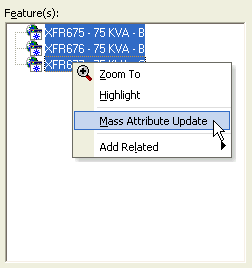
- If you have multiple features selected, you may right-click and access the Mass Attribute Update tool.
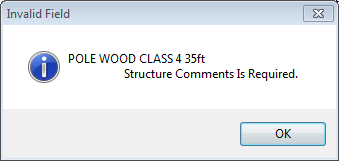
- Click Next to modify attributes and site condition data. The Work Function Tool requires you to fill out all required fields (highlighted in red) before allowing you to click Next or Finish, or you will see an error message similar to this:
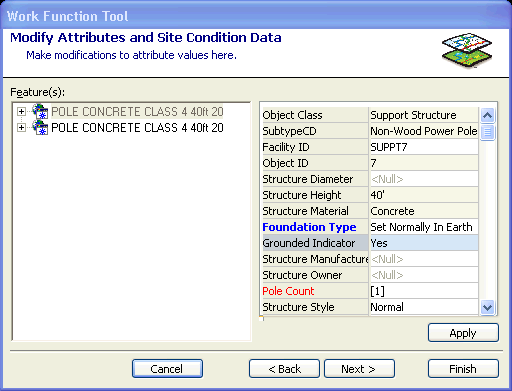
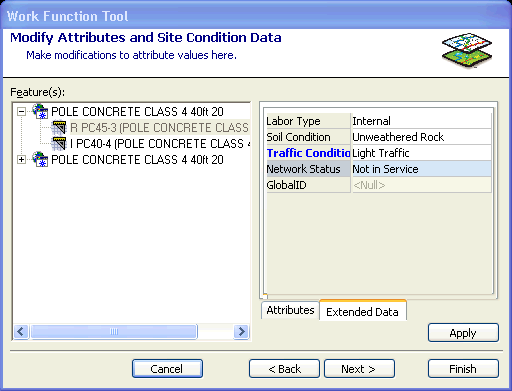
- Select feature(s) or CU(s) to modify attributes or site condition metadata. Users can only edit multiple CUs that are assigned the same metadata editor. Metadata editors are assigned with the Object Info tab of the ArcFM Properties Manager in ArcCatalog.
- Click Apply to save changes.
- Click Next for the final screen. You may also click Finish to add the CU(s) to the Design tab.
- Click Finish to add the CU(s) to the Design tab.
The Work Function for the parent CU will become "Replace."
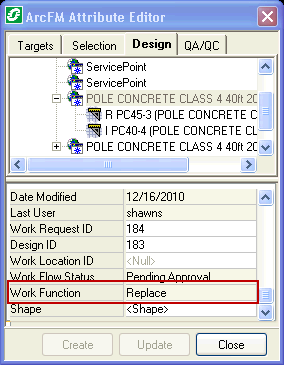
The symbology on the map will change to reflect the symbology selected for a pole with a work function of Replace. This is what we call "Render a Replace." Render a Replace puts a Replace work function on a parent CU that has a child Install CU and at least one other type of CU (Remove, Abandon, etc.).
NOTE: Right-click a CU in the Feature(s) window to access utility tools.


 The Find Next button performs a search. Type the first few letters of the CU in the field. Click this button to search for matching CUs. Hit the Enter key to select the found CU and add it to the window at the left.
 The Delete button clears the contents of the field.
 Like Find Next, the Browse button performs a search. Click this button for a window to search for a CU. This screen also allows you to choose a different work function if another is available.
 The Change Work Function button allows you to assign a specific remove work function (such as Abandon or Retire) to the Compatible Unit. This does not modify the work function of any existing non-GIS CUs.