Using ArcFM Solution Desktop
Change CU

Version: 10.2.1c and 10.2.1c SP3

Resource Center Home

Use the Change CU utility to replace a compatible unit (CU) on the Design or Targets tab. In addition to changing individual CUs, you can also use the tool to change multiple non-GIS CUs or multiple GIS CUs (within the same feature class) under different parents. You may not change multiple CUs with the same parent because this would create CUs with duplicate work functions under the same parent. 

If you modify multiple CUs, they must have similar work functions; either all Install work functions or all remove type work functions (abandon, remove, retire).
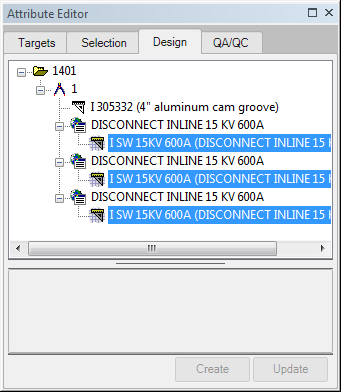
  1. On the Design tab or the Targets tab, select the child-level CUs.
  2. Right-click and select Change CU.
  3. In the Select CU screen, select a work function. If the selected CUs all have an Install work function, Install will be the only option. If the CUs have all remove type work functions (Remove, Abandon, and/or Retire), those will be the only options.
  4. Select a value from the Subtype field to filter the CUs by subtype.
  5. Choose the CU to replace the selected CU(s) and click OK. In the Select CU screen, the Filter button and Show All checkbox will not be visible if you are changing a non-GIS CU.
  6. The selected CU will replaced the CU(s) you have selected. The work function will also be changed to match what was selected in the Select CU(s) screen.


Figure 1, the user has selected three fuses. The user right-clicks and selects Change CU.

Figure 2, the user selects a fuse CU to replace the three selected CUs (Install is the only work function available). The Filter button and Show All checkbox will not be visible if you are changing a non-GIS CU.


Figure 3, shows the three new CUs.


Send Comment to ArcFMdocumentation@schneider-electric.com