Follow these steps to add cross arms to an assembly:
- Click the plus (+) symbol next to the inline assembly name.
- Select Cross Arm from the drop-down menu. You can have up to three cross arms per inline assembly. The first cross arm is placed to one side of the pole. The second cross arm is placed on the opposite side of the pole from the first. The third cross arm is stacked against the first.
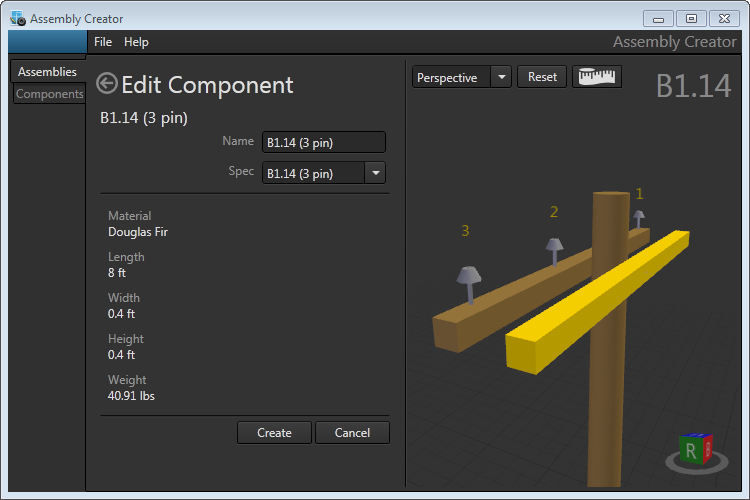
- Set the spec on the Edit Component dialog. This drop-down list is created from Assembly Creator's list of cross arm components. Each time you change this value, the canvas displays the current selection highlighted in yellow.
- Click Create. Assembly Creator adds the cross arm to the assembly and removes the highlighting.
OHDA Assembly Creator does not allow users to place insulators on the middle cross arm of a triple cross arm assembly (the inner board). You might be inclined to add insulators to the first cross arm on the assembly, then continue to add cross arms until you have added all three, but we recommend adding all the cross arms first, then placing insulators on the outer cross arms. This will help you build assemblies more efficiently. Here are the recommendations when adding insulators to cross arms:
Single Cross Arm:
- Add insulators to that cross arm.
Double Cross Arm:
- Add insulators to either cross arm.
Triple Cross Arm:
- Add insulators to either the first or third cross arm (the two outer cross arms).
- Add all cross arms first, then add insulators to the appropriate cross arms.
