

| ArcFM Desktop Overview > Designer > Design Optimization > Select Parcels |
The Select Parcels step has four tools you can use to select a set of parcels for your optimized layout. Designer displays the selection set graphically on the map. The nodes in the selection set are also available in the Design Optimization tree. Right-click any item to access the available context menu tools (e.g., Remove, Highlight, Zoom To).
You can remove a parcel from the selection using the tools detailed below. You may also right-click the parcel in the tree and select Remove.
Use these tools to select parcels by drawing a polygon. Click to add vertices and double-click to close and finish the polygon. All parcels that fall entirely or partially within that polygon are selected on the map. The tool with the blue plus (+) symbol adds parcels to the selection tree. The tool with the red minus (-) symbol removes parcels from the tree.
Use this tool to select parcels by drawing a rectangle. Click, hold, and drag the cursor to draw a polygon. Release the mouse click to finish the rectangle. All parcels that fall entirely or partially within that polygon are selected on the map. The tool with the blue plus (+) symbol adds parcels to the selection tree. The tool with the red minus (-) symbol removes parcels from the tree.
Add Parcels to Selected Set
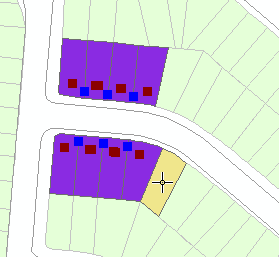
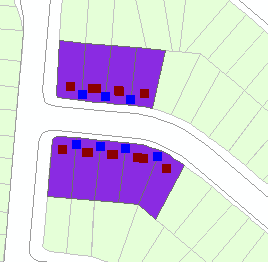
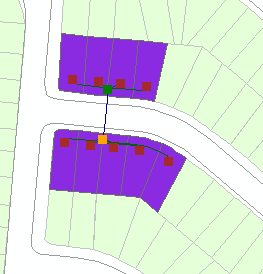
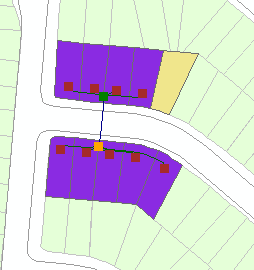
You can add one or more parcels to an existing selected set before or after optimizing:
 |
The following example depicts selecting a single parcel, however you may select multiple parcels, if desired. |
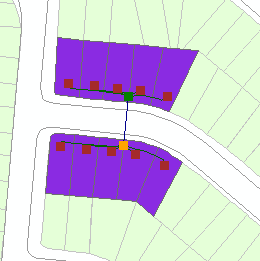
 |
Additional parcels cannot be added to the selected set after running Complete All. |