This page contains the steps for creating a duct. One pre-requisite is that both the conductor and the conduit/conduit system exist in the map.
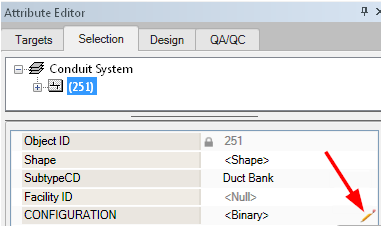
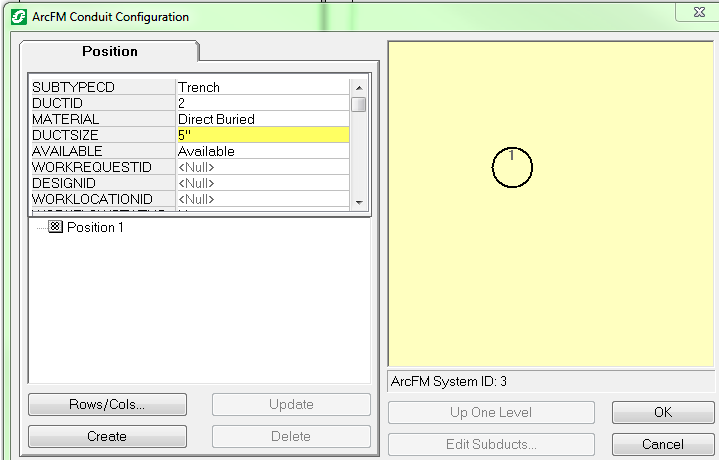
The duct must be created before you can associate it with conduit. Ducts are created in the ArcFM Conduit Configuration Window.
- In Edit mode, select the desired conduit/conduit system.
- Click in the Configuration field of the Conduit System to view the pencil.
- Click the pencil to open the ArcFM Conduit Configuration window. This example shows that conduit #251 has one existing duct that is available; i.e., nothing is currently occupying this duct.
- To create a duct, click the Create button and move the cursor to the right-hand (yellow) pane. The cursor becomes a pencil inside a circle.
- Click to place the new duct. If initial placement is wrong, click and drag the duct to the desired position. There are now two ducts, neither of which is occupied.
- To save the new duct, you must click OK, which closes the ArcFM Conduit Configuration window, and click the Update button in ArcFM Attribute Editor. Once the duct is created, a conductor can be associated with it.
 |
The conductor-to-conduit does not have to be related first. |