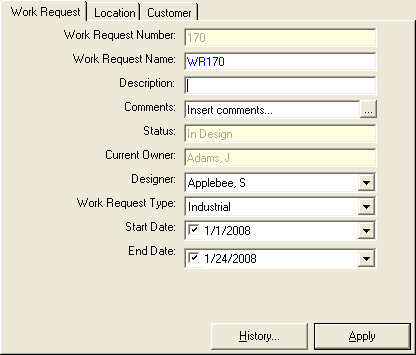
The user control displayed when you have a work request selected in the tree offers three tabs for users to store information about the selected work request. Grayed out fields are automatically updated as the Work Request is transitioned through the process flow. These fields are not editable by the user.
Changes are shown in blue text. Click the Apply button to save the changes. Once saved, the text will be shown in black. If you do not click the Apply button and select another work request or design, the modifications shown in blue will not be saved. You will be prompted to save.
Work Request
This tab contains information about the work request.
The History  button provides a list of actions performed on the work request. Attributes listed include: modification date, user, and description. Click the X in the top right corner to close this window.
Field Descriptions
Work Request Number: Workflow Manager generates a unique numeric ID for each work request (WR). This field is not editable.
Work Request Name: Enter a name for your WR. You may duplicate WR names.
Description: Enter a brief description for the WR. This field may hold a maximum of 128 characters.
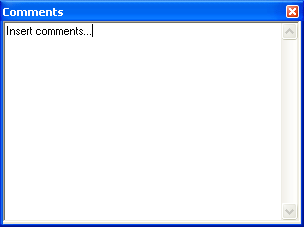
Comments: Enter any comments relating to the WR. Click the browse  button to view the comments window.
Status: Indicates the status (or state) of the WR. A WR may be in one of the following states: Initiated, In Design, In Construction, or Complete. This field may be modified only by transitioning the WR to another state (such as approving its design). See Work Request Process Flow.
Current Owner: Indicates the owner of the WR. The default for this field is the user ID of the person who created the WR. This field may only be edited using the Change Owner  button. See Change WR Owner.
Designer: Select a Designer. This provides the selected Designer access to view the WR and create an associated design.
Work Request Type: Select the type of WR: Residential, Commercial, Irrigation, Industrial.
Start Date: Select a start date. mm/dd/yyyy
End Date: Select an end date. The end date must be equal to or later than the start date. mm/dd/yyyy
Location
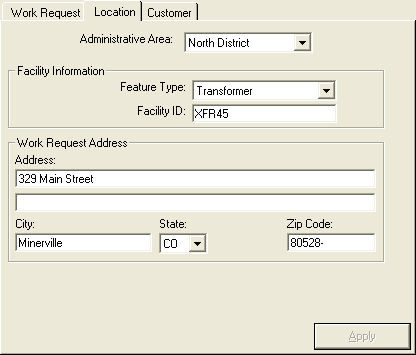
This tab contains information about the physical location of the Work Request.
Field Descriptions
Administrative Area: Select an administrative area in your network. In the Workflow Manager sample database, our examples are: North District, South District, East District, West District.
Facility Information: Fill in these fields to indicate the location of the Work Request polygon.
Feature Type: Select the type of feature to create the Work Request polygon around. In the Workflow Manager sample database, the examples are: Pole, Transformer, and Gas Valve.
Facility ID: Enter the Facility ID for the feature. This field is case sensitive. NOTE:The label for this field is Facility ID, however, it requires the value of the ArcFM Primary Display Field for the Feature Type. For example, if the ArcFM Primary Display Field for a pole is OBJECTID, enter the OBJECTID of the pole. In this case, entering the Facility ID would generate an error.
Work Request Address: Enter the address for the location of the Work Request. The Zip Code field validates that a five- or nine-digit number has been entered.
Customer
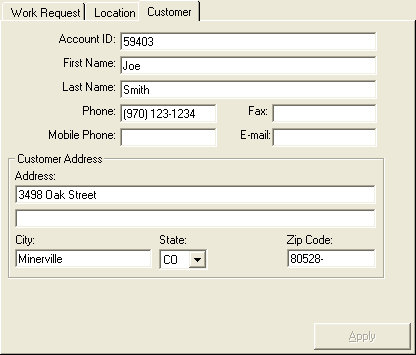
This tab contains contact information for the customer.
Field Descriptions
Account ID: Enter the Account ID for this WR.
First Name: Enter the customer's first name.
Last Name: Enter the customer's last name.
E-mail:Enter the customer's e-mail address.
Phone:Enter the customer's phone number.
Fax:Enter the customer's fax number.
Mobile Phone: Enter the customer's mobile phone or cell number.
Customer Address: Enter the customer's billing address. The Zip Code field validates that a five- or nine-digit number has been entered.
 |
|


